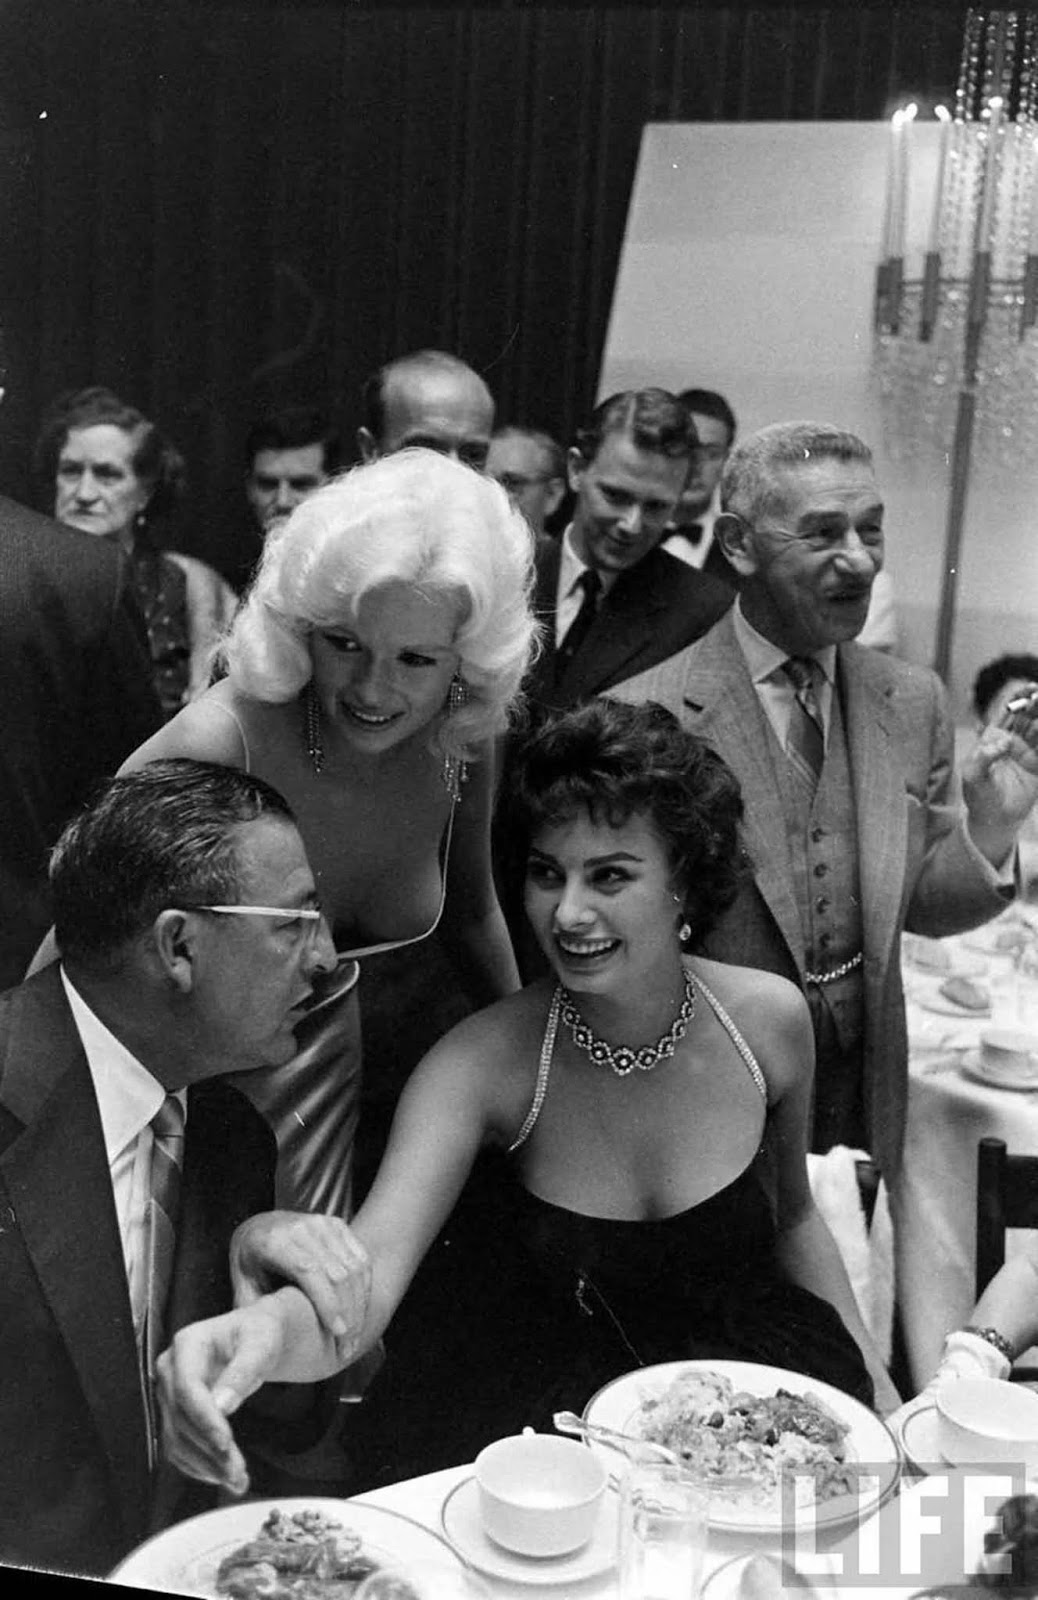
The story behind the infamous Sophia Loren and Jayne Mansfield photo(01) Save Image Image gallery: Loren Mansfield - Uncovering Stories